Port Moody Chimney Leak Repair
Chimney Leaks
When bricks loosen or mortar joints lose their holds, chimney leaks may appear. As weather changes from cold to hot, the increased moisture in the air causes air pockets and expansion in certain materials. This natural occurrence allows holes and cracks to form leaving the inside of your chimney's flue susceptible to the elements and animals in the area. If your chimney is leaking and cannot circulate heat efficiently, you may have increased energy bills to compensate for the warm air escaping too quickly
Loose Bricks
Following a heavy storm, bricks can loosen on the chimney structure. Not only are falling bricks a hazard to people walking around on your property, missing bricks mean openings to where rainwater seeps into your home. A loose brick can also fall into the flue, causing the blockage. If you see any bricks that are out of place, have your chimney inspected by an expert as soon as possible.
Repairing a chimney leak typically involves identifying the source of the leak, fixing the underlying problem, and sealing the area to prevent further water entry. Here’s a step-by-step guide for repairing a chimney leak:
1. Identify the Source of the Leak
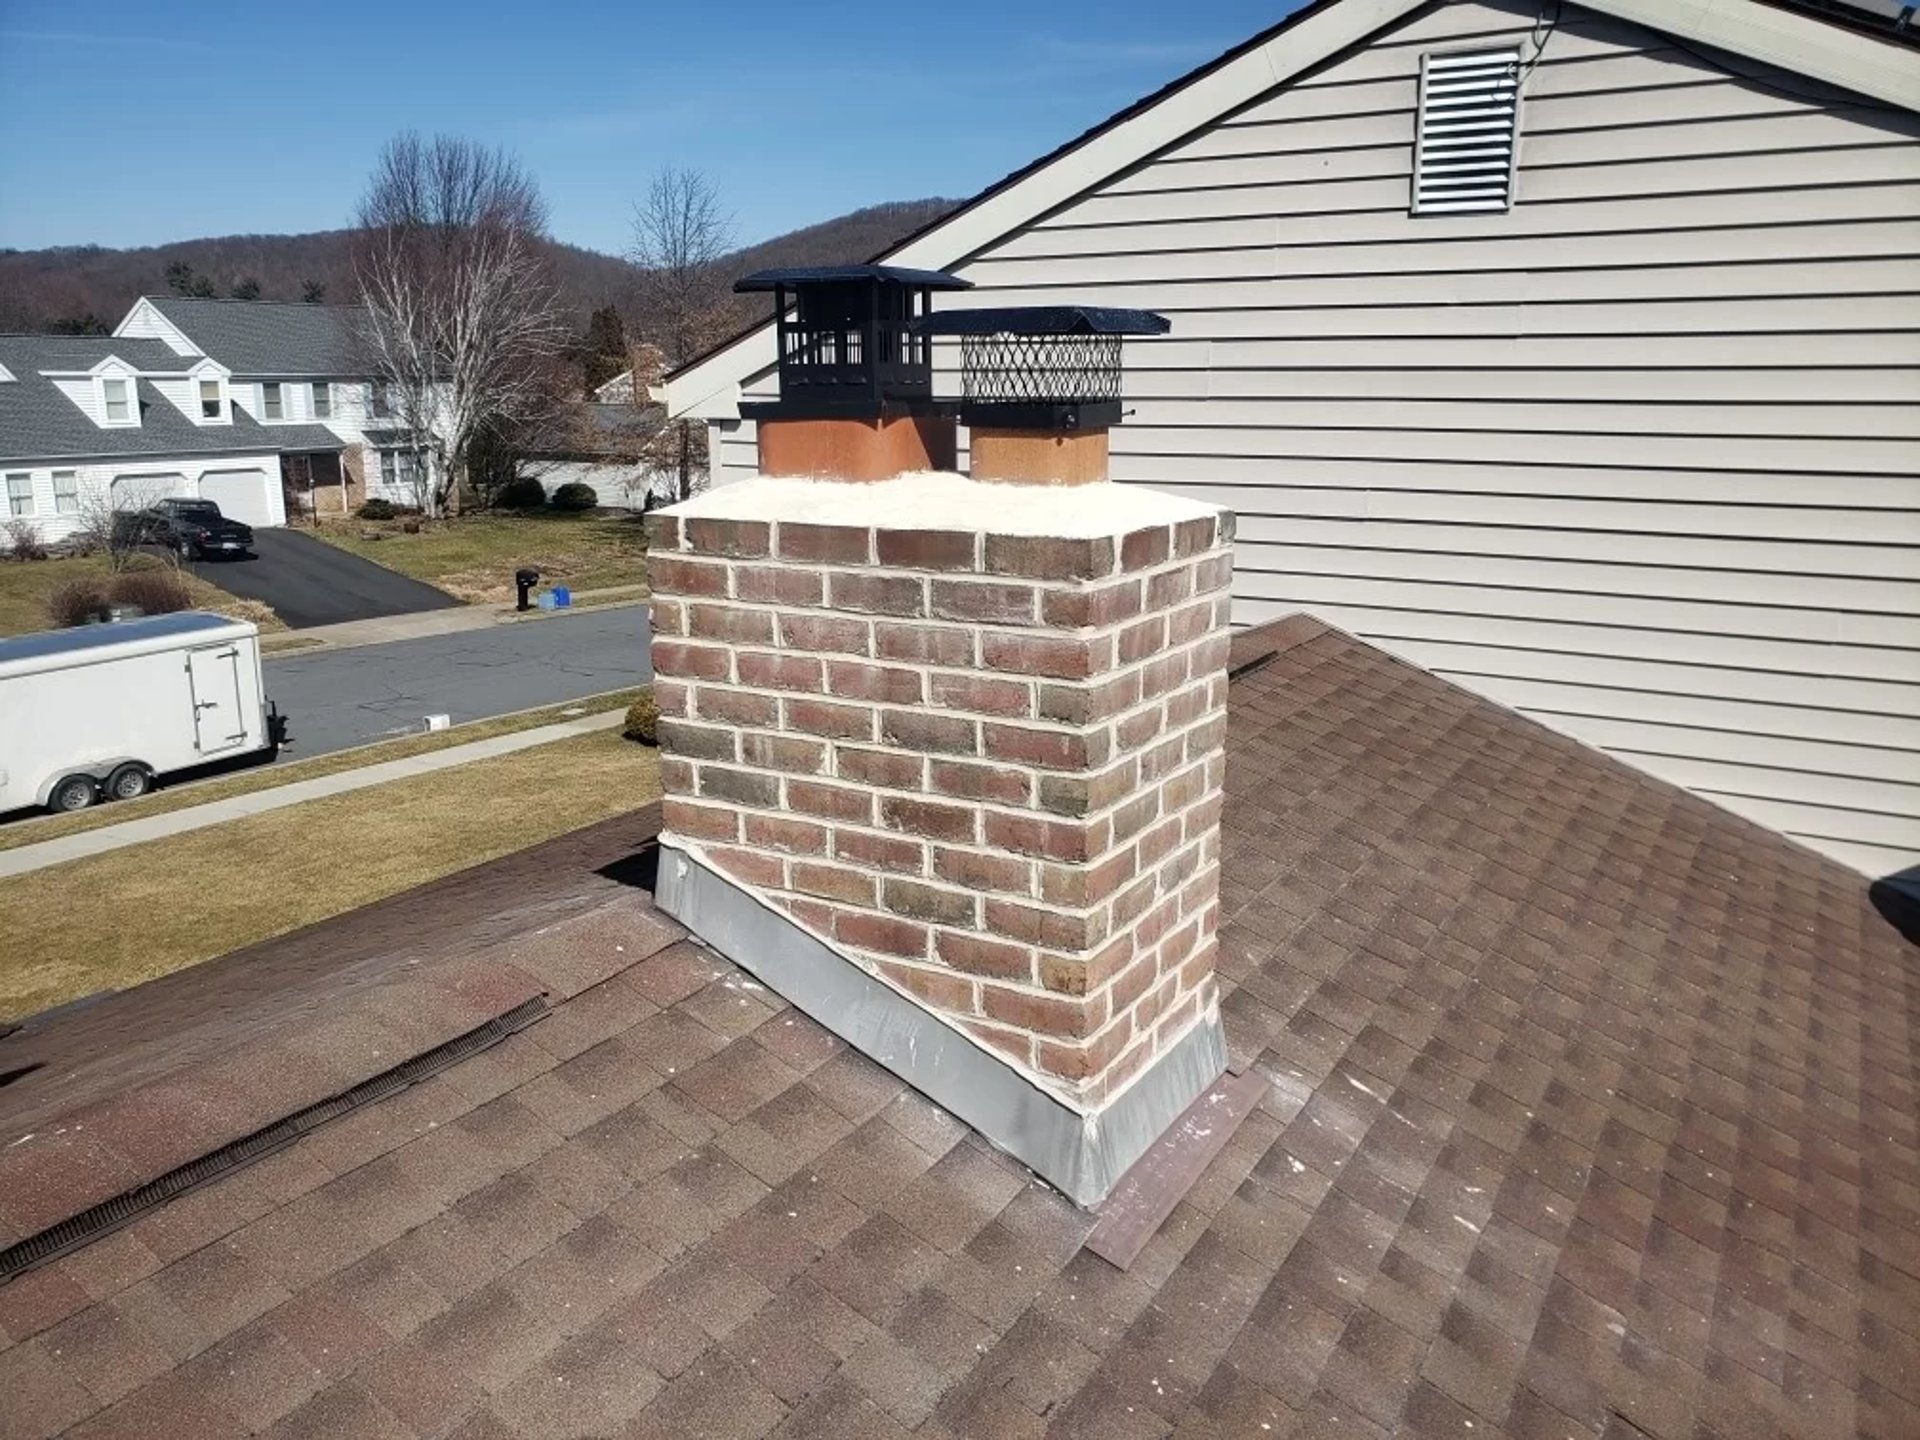
Roof Flashing: The flashing around the base of the chimney is a common leak point. If the flashing is loose, damaged, or corroded, water can seep through.
Cracked Chimney Crown or Mortar: Over time, the chimney crown or the mortar between bricks can crack and allow water to penetrate.
Damaged Chimney Cap: If your chimney cap is cracked or missing, rain or snow can get into the chimney, leading to leaks.
Damaged Chimney Liner: If the liner is cracked or damaged, water can leak into your home.
2. Prepare the Area
Ensure the fireplace or wood stove is cool and not in use.
Use a ladder to access the chimney, or if it's hard to reach, consider hiring a professional.
Protect the area around the chimney inside your home with drop cloths or tarps.
3. Repair the Leak
Flashings: If the flashing is the issue, you might need to re-seal it with a high-quality roofing sealant. If it’s damaged, it may need to be replaced entirely. Flashing should be installed so that it directs water away from the chimney.
Chimney Crown or Mortar: For cracked chimney crowns, you can apply a special crown repair product or use cement to seal the cracks. Similarly, if mortar joints are cracked, tuckpointing (replacing old mortar) may be necessary.
Chimney Cap: If the cap is damaged, it’s relatively simple to replace it with a new one. Make sure the new cap fits snugly and covers the entire top of the chimney.
Chimney Liner: If the liner is cracked, a professional may need to install a new one, as repairing liners can be complex and require special materials.
4. Waterproof the Chimney
After the repairs are made, use a waterproof sealant designed for masonry and chimneys to prevent further water infiltration. Be sure to use a breathable sealant that allows moisture to escape but prevents water from getting in.
5. Inspect Chimney Annually
After your repairs, it’s a good idea to inspect the chimney regularly for any signs of wear, damage, or leaks. This can prevent future problems.